
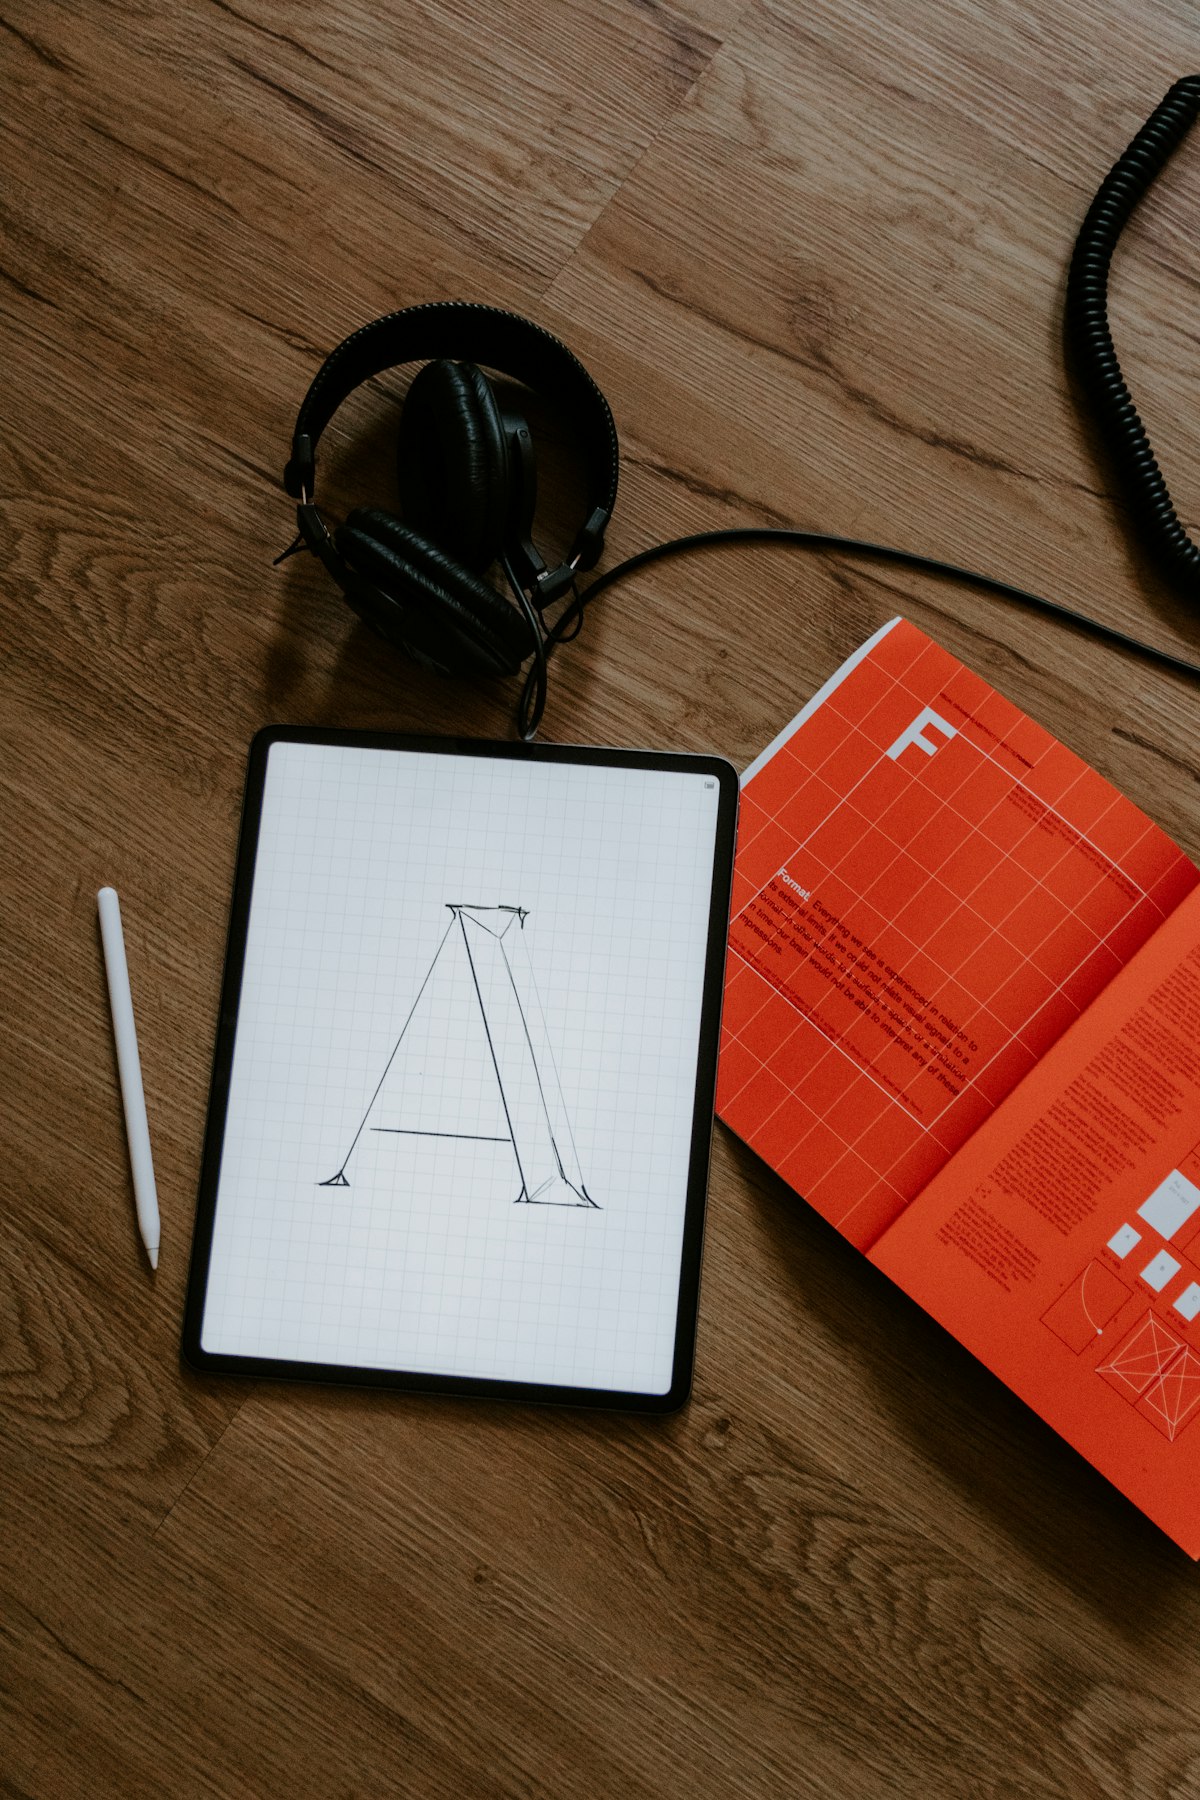

The professional logo vectorization process is more detailed than most people expect — and understanding it helps you get better results, avoid common mistakes, and know exactly what you are paying for.
Most people who order logo vectorization have no idea what actually happens after they upload their file. The order goes in, some time passes, and a clean vector file comes back. It feels like magic — but there is a real, careful process happening behind the scenes.
Understanding that process matters for two reasons. First, it helps you set realistic expectations about turnaround time and what the finished result will look like. Second, it helps you distinguish between genuine professional vectorization and the cheap auto-trace shortcuts that get passed off as the real thing every day on freelance platforms.
This is a complete, honest, step-by-step breakdown of what actually happens during professional logo vectorization — the kind that produces a file you can take to any print shop, embroidery service, or sign maker in the world and get a perfect result.
Vectorization process — step by step
| # | Step | What happens | Who |
|---|---|---|---|
| 1 | File submission | You upload your PNG, JPG, PDF, or screenshot along with brand color codes, intended use case, and notes about details to preserve. | You |
| 2 | Assessment and quote | The artist reviews complexity, color count, typography, and use case. You receive an exact price and turnaround time before any payment is required. | Vector artist |
| 3 | Document setup | Adobe Illustrator is opened. Your source file is placed as a locked reference layer. Color mode (CMYK, RGB, or Pantone) and layers are configured correctly for the intended use. | Vector artist |
| 4 | Shape rebuilding | Every shape is manually redrawn using the Pen tool — clean Bézier paths, minimum anchor points. No auto-trace is used at any stage. | Vector artist |
| 5 | Color separation | Each color is rebuilt as a clean, closed shape with hard edges. Pantone or CMYK values are applied. Color regions are properly separated for professional print, screen printing, and embroidery. | Vector artist |
| 6 | Typography finalization | Fonts are identified and set, or letterforms are hand-redrawn. All text is converted to clean, font-independent vector outlines before delivery. | Vector artist |
| 7 | Quality check | Anchor points cleaned up, path directions confirmed, overlaps and gaps inspected, color mode verified, and file organization reviewed. Every path is checked at 400% zoom. | Vector artist |
| 8 | File export | Complete package exported: AI, EPS, SVG, PDF, transparent PNG, and black and white version — all properly named, organized, and ready for production. | Vector artist |
| 9 | Delivery and revision | Files delivered via download link within the agreed timeframe. You review the result and submit any revision requests. The artist revises until the result is exactly right. | Both |
| 10 | You own the files | Full commercial use rights included. Master vector files are yours permanently — use them for print, embroidery, signage, branding, and any other application, now and in the future. | You |
Package comparison
| Feature | Basic — $25 | Standard — $45 Popular | Premium — $85 |
|---|---|---|---|
| Best for | Simple logos and icons | Business logos and brand assets | Complex artwork and embroidery |
| 100% manual redraw | ✓ | ✓ | ✓ |
| AI, SVG, PNG files | ✓ | ✓ | ✓ |
| EPS and PDF files | — | ✓ | ✓ |
| Black and white version | — | ✓ | ✓ |
| Embroidery optimization | — | — | ✓ |
| Revisions included | 1 revision | 2 revisions | Unlimited |
| Delivery time | 48 hours | 24 hours | 12–24 hours |
| Priority support | — | ✓ | ✓ |
| Commercial use rights | ✓ | ✓ | ✓ |
Step 1 — You Submit Your File and Brief
The process begins when you upload your source file — a PNG, JPG, PDF, screenshot, scanned image, or any raster reference you have — along with any notes about what you need.
A professional service like Vector Refinery does not just take the file and start working immediately. Before the first anchor point is placed, there is a review step that sets the entire project up for success.
The artist or project manager reviews your uploaded file and assesses several things: the overall complexity of the artwork, the number of colors, whether the image contains custom typography or lettering, what the intended use case is (print, embroidery, signage, digital), and what file formats you need in the final delivery.
This is also when any questions get asked. If your brief is unclear, if there are details in the artwork that are hard to read in the uploaded file, or if the intended use case requires specific technical considerations, this is the moment to clarify. Getting this right at the start prevents revisions later.
What you should include with your submission:
- Your source file in the highest quality version you have
- Your brand color codes if you have them — Pantone, hex, or CMYK values
- The intended use case — print, embroidery, screen printing, signage, digital
- Any specific file formats you need
- Notes about fine details, fonts, or elements you want preserved exactly
The more information you provide at this stage, the more accurately the artist can match your original design intent and the fewer rounds of revision you will need.
Step 2 — File Assessment and Free Quote
After the submission is reviewed, the artist assesses the complexity of the project and provides a clear quote with an exact price and turnaround time.
This is a step that separates professional services from amateur ones. At Vector Refinery, no work begins and no payment is required until you have received this assessment and confirmed you want to proceed. You know exactly what you are paying for and when you will receive it before anything is committed.
The complexity assessment looks at specific factors that determine how long the project will take:
Color count. A single-color icon takes a fraction of the time a multi-color badge design requires. Each color is rebuilt as a separate, properly defined layer — more colors means more work.
Shape complexity. Simple geometric shapes — circles, rectangles, basic curves — redraw quickly. Highly organic shapes, complex illustrations, fine decorative linework, and irregular forms take significantly longer.
Typography. If the logo contains text, the artist needs to either identify and set the typeface correctly or hand-redraw the letterforms as clean outlines. Custom or stylized lettering is among the most time-consuming elements to reproduce accurately.
Source file quality. A clean, high-resolution PNG makes the reference material clear and unambiguous. A heavily compressed, low-resolution, or blurry source file requires the artist to make more interpretive decisions, which takes additional time and care.
Intended use case. Standard print-ready vectorization is one level of work. Embroidery optimization — which requires specific path construction, color separation, and stitch-compatible structure — is an additional layer of work that the Premium package covers.
Once this assessment is complete, you receive a quote. At Vector Refinery, Basic projects start at $25, Standard projects at $45, and Premium complex work at $85. You approve the quote, and the project begins.
Step 2 — File Assessment: The Start of the Professional Logo Vectorization Process
Step 3 — Setting Up the Working Document
The artist opens a new document in Adobe Illustrator — the industry-standard software for professional vector work — and sets up the workspace for the project.
The source file you uploaded is placed into the document as a locked reference layer. This layer is dimmed to around 40–50% opacity so it serves as a visual guide without interfering with the new vector artwork being built on top of it.
The working document is set up with the correct color mode from the start. For print use, this is CMYK. For embroidery or spot color printing, Pantone values are prepared. For digital-only use, RGB is used. Getting the color mode right at the start ensures the final delivered files are technically correct for their intended production application — something auto-trace tools never handle properly.
Layers are created and labeled at this stage too. A well-organized file has each major element on its own labeled layer — shapes, typography, icons, color regions — so that anyone who opens the finished file can understand and work with its structure immediately. This kind of organization is invisible when the logo looks correct on screen, but it is enormously valuable when a designer, print shop, or production specialist needs to open and use the file later.
Step 4 — Rebuilding the Shapes (The Core of the Work)
This is where the real craft of professional vectorization happens, and it is the step that makes the biggest difference between a properly redrawn logo and an auto-traced one.
Working element by element, the artist uses the Pen tool in Adobe Illustrator to draw clean Bézier paths that recreate each shape in the logo. This is done entirely by hand — no automated tracing, no algorithmic approximation. Every anchor point is placed deliberately.
Here is what this actually looks like in practice:
For geometric shapes — circles, ovals, rectangles, polygons — the artist uses Illustrator’s shape tools to create mathematically perfect versions. A circle in a professionally redrawn logo is a perfect mathematical circle. An auto-traced circle is a series of approximated curves that look circular but are not mathematically precise.
For organic and custom shapes — irregular curves, flowing lines, decorative elements, custom icon forms — the artist uses the Pen tool to trace the shape with carefully placed anchor points and precisely adjusted Bézier handles. The goal is to use the minimum number of anchor points needed to accurately describe the shape. A smooth curve typically needs just two or three anchor points. Adding more creates subtle distortions.
For lettering and typography — this is the most nuanced part of the process. The artist first tries to identify the typeface used in the logo. If it is a standard or commercially available font, the text is set using that font and converted to outlines — a process that turns the live type into clean vector shapes. If the font is custom, modified, or unidentifiable, the letterforms are redrawn by hand one character at a time, matching the proportions, stroke widths, and curves of the original as precisely as possible.
For fine details — thin lines, small decorative elements, hatching, crosshatching, intricate borders — these are handled with particular care because they are the details most likely to be compromised by low-resolution source files or sloppy tracing. A professional artist studies the source material carefully and makes informed decisions about how to reproduce fine details cleanly in vector form.
Throughout this step, the artist is constantly zooming between 100% view (to check the overall appearance) and 400–600% zoom (to check the precision of individual curves and anchor points). Every path is refined until it is smooth, clean, and accurate.
Step 5 — Color Rebuilding and Separation
Once all the shapes are drawn, the color work begins. This is another step where professional manual work produces fundamentally different results from auto-trace.
Each color region in the logo is filled with the correct flat color value. If you provided Pantone, hex, or CMYK values, those are applied exactly. If you did not, the artist samples the colors from the source file and adjusts them to proper flat values — removing any blending, anti-aliasing, or soft transitions that exist in the raster original.
The color separation process ensures that each color is a distinct, closed shape with clean hard edges. Where two different colors meet, the shapes align precisely — no gap between them and no overlap that would cause printing problems. This is called trapping in the print industry, and getting it right is essential for screen printing, spot color printing, and certain digital print applications.
For embroidery-optimized projects, this step involves additional consideration of how each color region will translate to thread. Small color regions that would be practical in print may be too small for embroidery production and need to be adjusted. The artist considers the practical constraints of the intended production method, not just the visual appearance.
Color naming and organization is part of this step too. Each color swatch in the final file is named and labeled clearly — whether by Pantone number, CMYK value, or hex code — so that any print shop or production service can reference the correct color specification without guesswork.
Step 6 — Typography Finalization and Outline Conversion
If the logo contains any text elements, this step finalizes the typography work.
Live text — text that is still editable as a font — needs to be converted to outlines before the file is delivered. This process converts each letter from a font-dependent text element into a standalone vector shape that does not require the recipient to have the same font installed to view or print it correctly.
Before outlining, the artist confirms that the typeface is correctly matched to the original. If there is any ambiguity about the font, additional research is done — using font identification tools, comparing letter proportions and spacing, and cross-referencing with the source material — to get as close to the original as possible.
After outlining, the letterforms are inspected individually at high zoom to confirm that the conversion produced clean paths. Occasionally, font-to-outline conversion introduces minor issues — slightly rough nodes, unexpected path directions — that need to be cleaned up manually. A professional artist catches and fixes these details before delivery. An automated process does not.
Step 7 — File Cleanup and Quality Check
With all shapes drawn, colors filled, and typography finalized, the artist does a thorough cleanup and quality review before the file is prepared for delivery.
This step involves several specific checks:
Anchor point cleanup. Every path in the file is reviewed for unnecessary anchor points. Any points that are not contributing to the shape — leftover from adjustments made during the drawing process — are removed. The goal is the cleanest, most efficient path construction possible.
Path direction and fill check. In professional vector files, closed paths need to have consistent fill directions to ensure they render and print correctly. The artist checks and corrects any path direction inconsistencies.
Overlap and alignment check. Every place where shapes meet is inspected to confirm there are no gaps, unexpected overlaps, or misaligned edges. In print production, even a tiny gap between shapes can cause visible problems.
Color mode confirmation. The entire file is reviewed to confirm all colors are in the correct color mode for the intended use — CMYK for print, RGB for digital, Pantone for spot color or embroidery.
Scale check. The vector artwork is tested at multiple sizes — from business card scale to banner scale — to confirm it looks correct and sharp at every dimension.
File organization review. Layers are checked to confirm they are named correctly and organized logically. Elements are grouped sensibly so the file is easy to work with for any designer or production professional who opens it later.
This quality check step is what separates a professional vectorization service from a fast-turnaround cheap service. It takes time, but it is what ensures the file performs correctly in production rather than causing problems after delivery.
This quality check is what defines the professional logo vectorization process — and what separates a reliable service from a fast cheap one.
Step 8 — Exporting the Complete File Package
Once the working Illustrator file passes the quality check, the artist exports the complete file package in all required formats.
A complete professional delivery includes:
AI (Adobe Illustrator) — the native working file, fully editable. This is the master file that a designer can open and work with in Illustrator. Everything is on labeled layers, all paths are clean and editable, all colors are properly defined.
EPS (Encapsulated PostScript) — the universal print industry standard. Virtually every professional design application and print workflow accepts EPS. Your print shop will almost certainly be able to use this format regardless of what software they use.
SVG (Scalable Vector Graphics) — the web standard. Clean, lightweight, and supported by all modern browsers. Ideal for websites, apps, email signatures, and digital brand applications.
PDF (Portable Document Format) — universally readable and widely used for sharing print-ready artwork. A vector PDF can be placed directly into InDesign or Illustrator layouts and will remain fully scalable.
PNG (Transparent Background) — a high-resolution raster export with transparent background. Not a vector format, but an essential companion file for presentations, email signatures, PowerPoint, and digital contexts where a transparent-background file is needed.
Black and White Version — a single-color version of the logo in all vector formats. Essential for stamp use, laser engraving, embossing, certain print applications, and brand guidelines that require single-color usage rules.
All of these files are organized clearly — typically in a folder with descriptive filenames — and delivered in a format you can easily distribute to print shops, designers, and production specialists.
Step 9 — Delivery and Revision
The complete file package is delivered to you via email or download link within the agreed turnaround time. At Vector Refinery, standard orders are delivered within 24 hours and premium complex orders within 12–24 hours.
At this point, you review the delivered files. Open them, check the colors, zoom in on the details, test them in your intended application if possible. Compare the vector result to your original source file and confirm it faithfully represents your logo.
If anything needs adjustment — a color value, a small shape detail, a proportion tweak — you submit a revision request. Basic packages include 1 revision, Standard packages include 2 revisions, and Premium packages include unlimited revisions. The artist makes the requested adjustments and redelivers the updated files.
The revision process is a normal and expected part of professional vectorization. It is not a sign that something went wrong — it is the quality control mechanism that ensures you end up with exactly the file you need. A professional service welcomes revision requests and works with you until the result is right.
Step 10 — You Own a Master Vector File Forever
Once you have approved the final delivery, you own a complete set of production-ready master vector files with full commercial use rights. These files do not expire, do not require a subscription to use, and do not belong to anyone but you.
This is the most underappreciated aspect of professional vectorization. You are not just solving a one-time production problem. You are creating a permanent asset that will serve your brand for as long as it exists.
Every time you need your logo printed, embroidered, engraved, cut, applied, or reproduced in any medium — you have the file. Every designer you hire can receive the AI or EPS file and work with it immediately in professional software. Every print shop you engage can take the EPS or PDF and produce a correct result without guesswork or file preparation charges.
A professionally vectorized logo is one of the most valuable files a business owns. The process that produces it — the ten steps described above — is the reason it is worth having done properly.
How Long Does the Entire Process Take?
From upload to delivery, here is what to expect at Vector Refinery:
Basic package — simple logos with flat colors and minimal complexity. Delivered within 48 hours.
Standard package — business logos with multiple elements, text, and moderate complexity. Delivered within 24 hours.
Premium package — complex artwork with detailed illustration, many colors, custom lettering, or embroidery optimization. Delivered within 12–24 hours.
Rush delivery within 6 hours may be available for urgent projects. Contact the team to confirm availability before ordering if rush timing is critical.
What Makes Vector Refinery Different
Every step described in this guide is how Vector Refinery handles every project — from the simplest single-color icon to the most complex multi-color illustrated badge.
No auto-trace. No automated shortcuts. No assembly-line processing where files get the same treatment regardless of their complexity. Every logo is assessed individually, redrawn by hand by a skilled vector artist, quality-checked thoroughly, and delivered as a complete, organized file package.
Over 500 projects completed. 5.0 client rating. Top Rated on Upwork. Packages starting at $25 with delivery in as little as 12 hours.
Frequently Asked Questions
Do I need to do anything special to prepare my file before submitting? No special preparation is required. Just submit the best quality version of your logo you have — PNG, JPG, PDF, screenshot, or scan. The artist works from whatever reference you can provide. Higher quality source files make the process easier and the result more accurate, but even low-resolution files can be professionally vectorized.
What if my logo has a lot of colors? More colors mean more work and more time, which is reflected in the project tier. A logo with 8–10 colors or complex color gradients would typically fall into the Standard or Premium package. The free assessment confirms which tier applies before any payment is required.
Can custom or unusual fonts in my logo be matched? In most cases, yes. The artist uses font identification tools and detailed comparison to identify and match the typeface as closely as possible. If the exact font cannot be identified, the closest available match is used or the letterforms are hand-redrawn as custom paths that accurately reproduce the original shapes.
Will my logo look exactly the same after vectorization? The goal is a faithful reproduction of the original in clean vector form. In most cases the result is visually identical to the original. In some cases — particularly with very low-resolution source files — minor details may be interpreted or simplified slightly. Providing the best available source file and noting any specific details you want preserved helps maximize accuracy.
What if I need the file for embroidery specifically? The Premium package includes specific embroidery optimization — path construction, color separation, and file structure suited to embroidery digitizing software. Mention embroidery as your intended use when submitting your order so the artist can apply the appropriate technical approach.
Is a free assessment really available before I pay? Yes. Upload your file at Vector Refinery and receive a complete assessment — including the recommended package, exact price, and expected turnaround time — before any payment is required or work begins.
Now that you understand the professional logo vectorization process from start to finish, you can order with confidence knowing exactly what you are getting.
Published by Vector Refinery — Professional Manual Logo Vectorization Service. Visit vectorrefinery.com to upload your file and get a free quote today.
